Magical Beginnings Featured in Northshore magazine
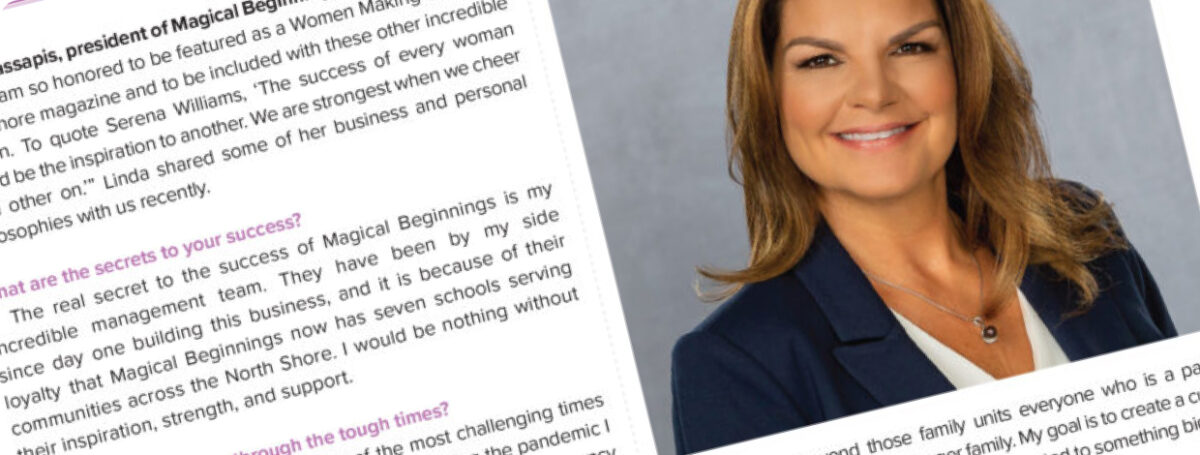
We’re honored to be recognized in the Woman Making A Mark issue of Northshore Magazine! We love sharing our story and hope you love hearing about it.
We’re honored to be recognized in the Woman Making A Mark issue of Northshore Magazine! We love sharing our story and hope you love hearing about it.
Magical Beginnings has been awarded a Best of North Shore Award (BONS) for the third year running! We were awarded the Readers’ Choice award for Best Kids’ Program/Early Enrichment.

Each member of our MB family goes above and beyond to ensure a positive impact for children during the most crucial years of development. We are so proud of this award!
Thank you for being a part of our community!
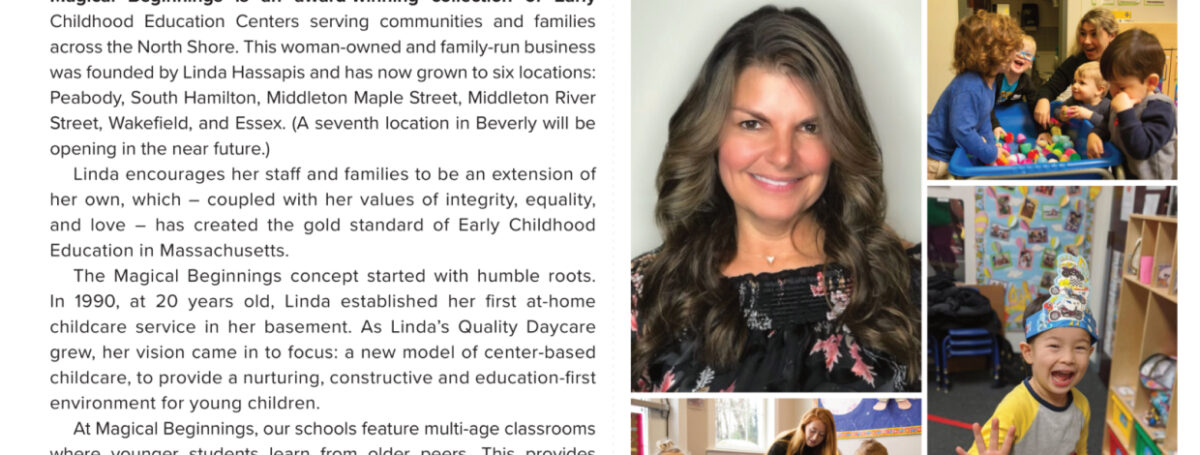
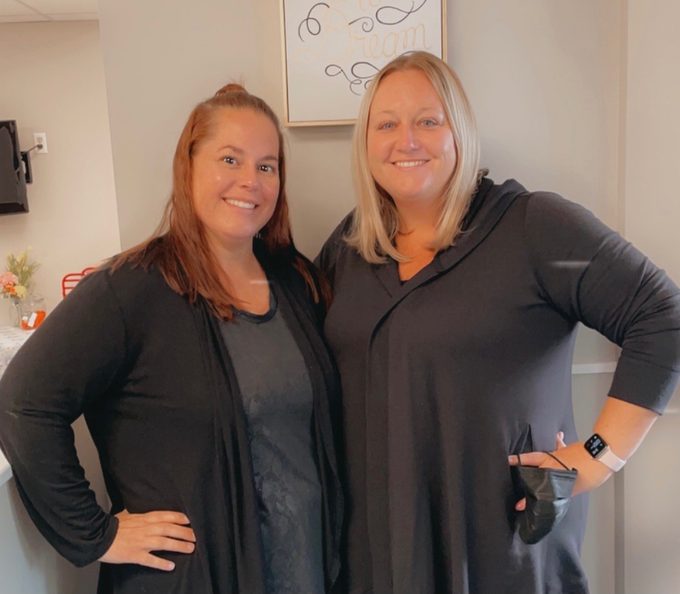
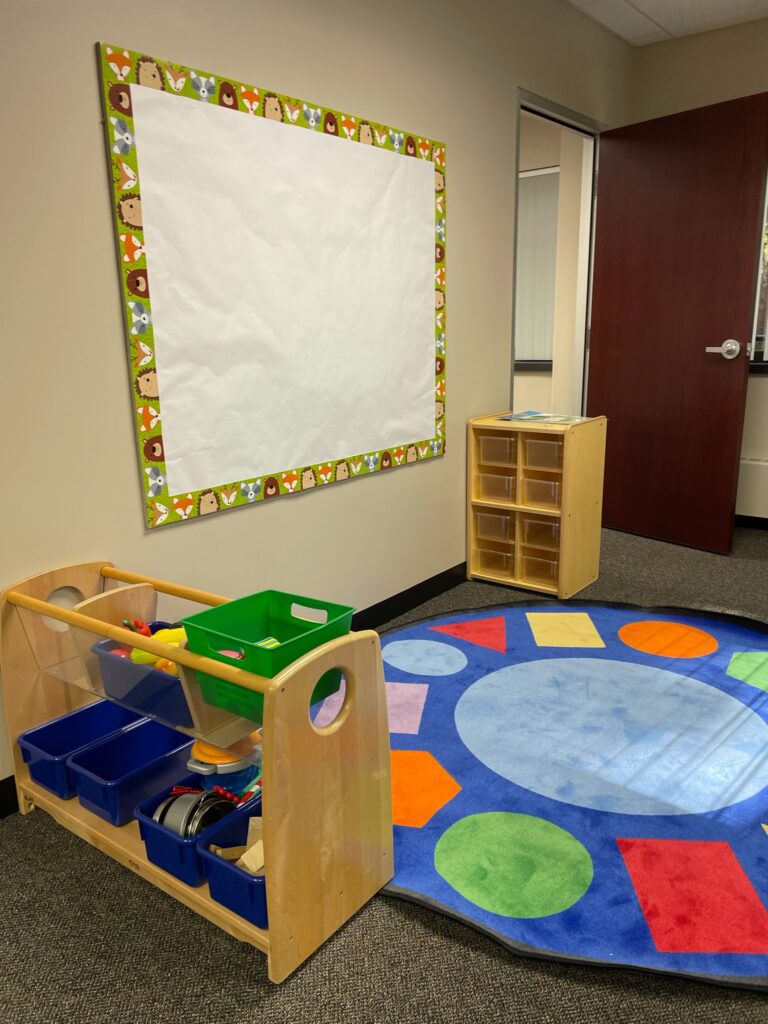
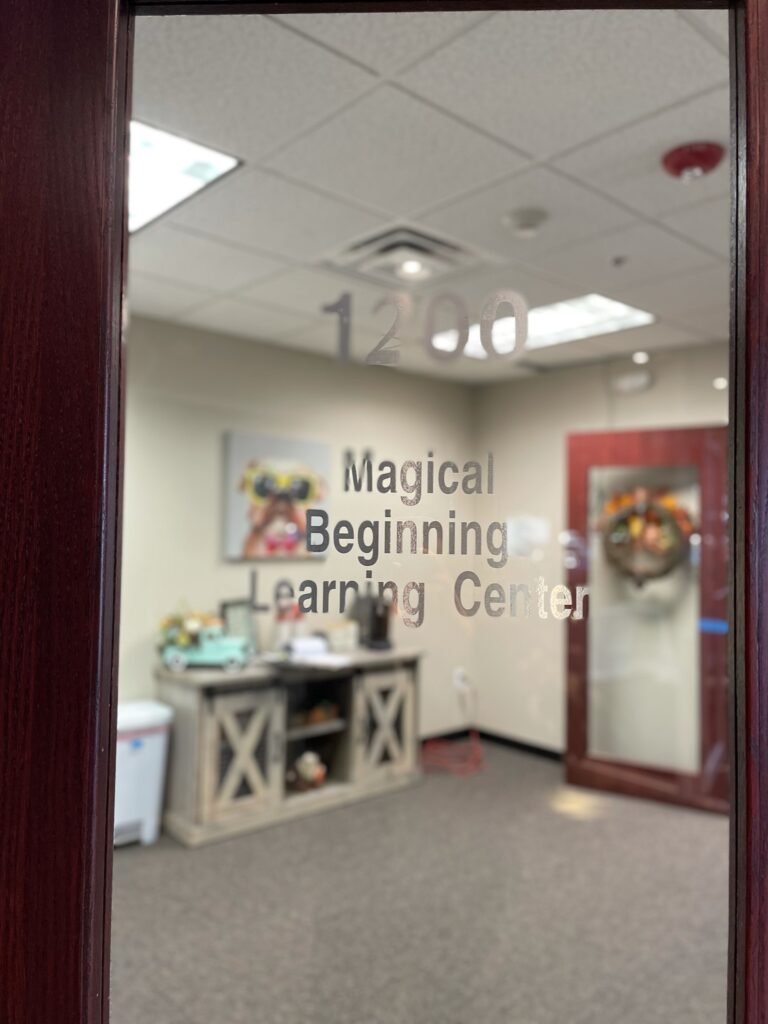
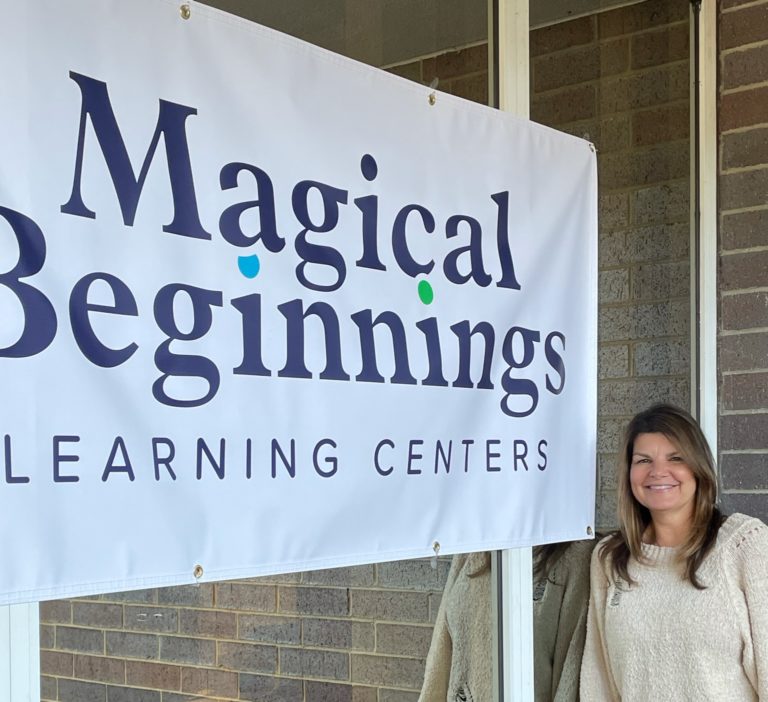
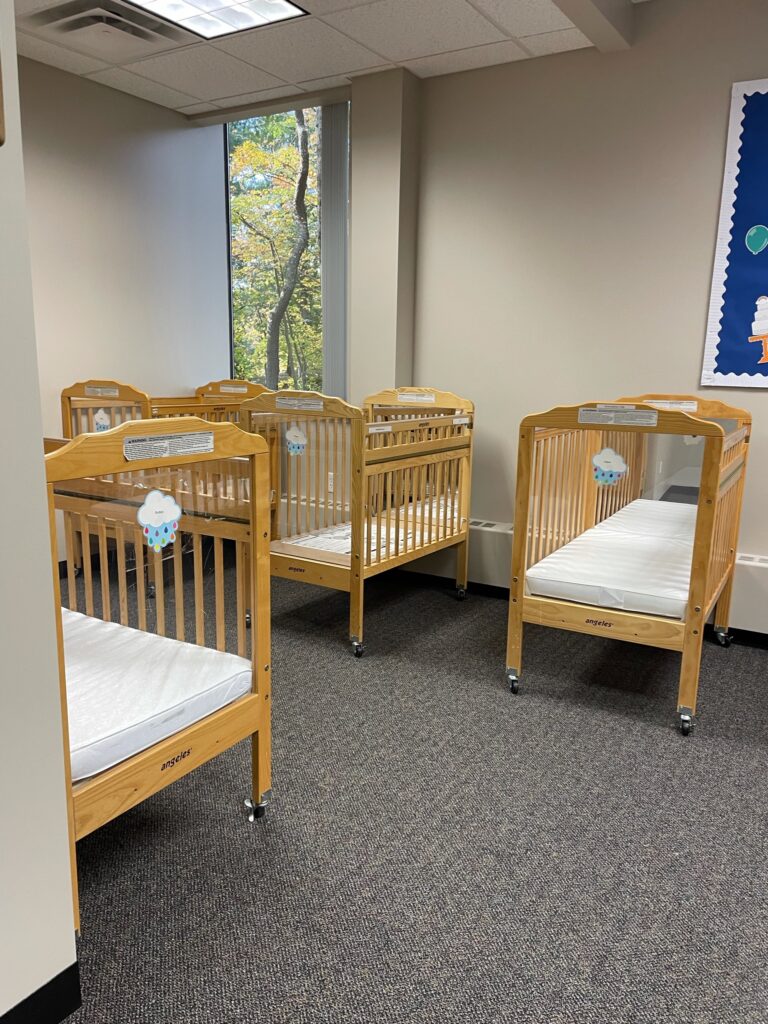
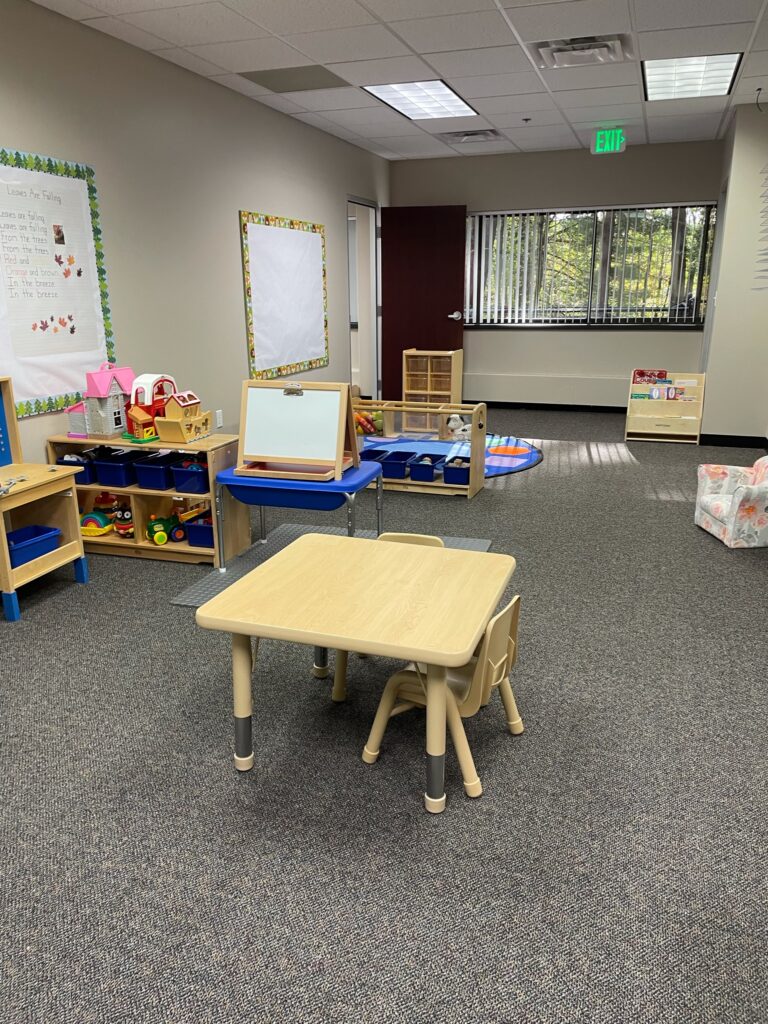
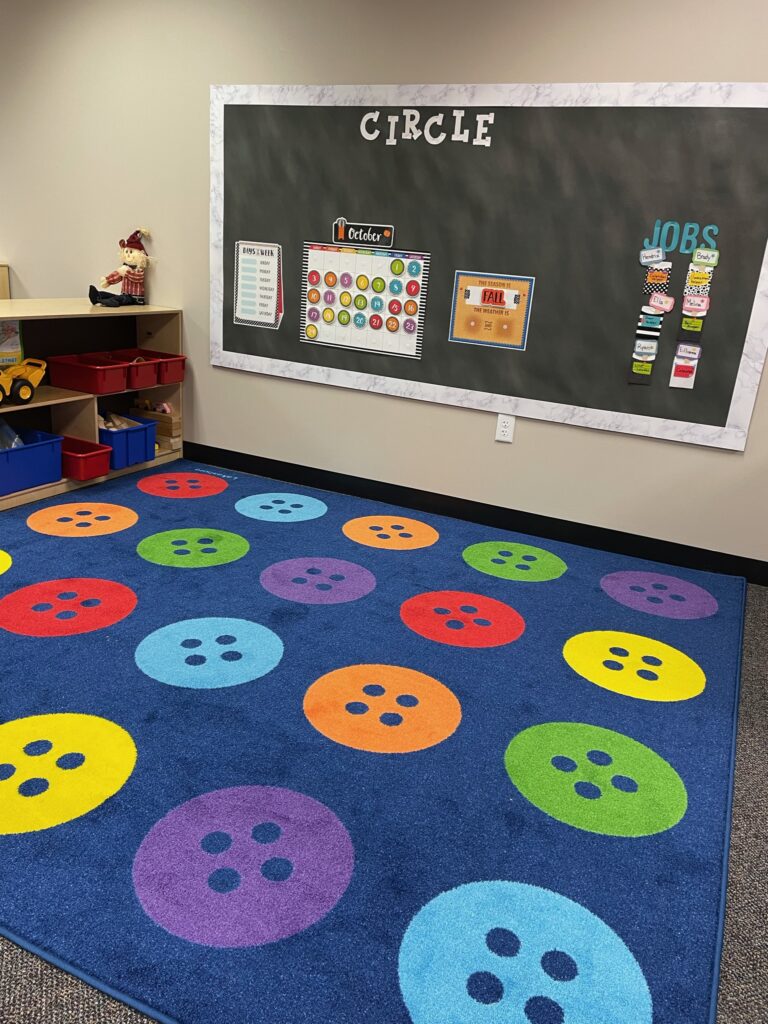
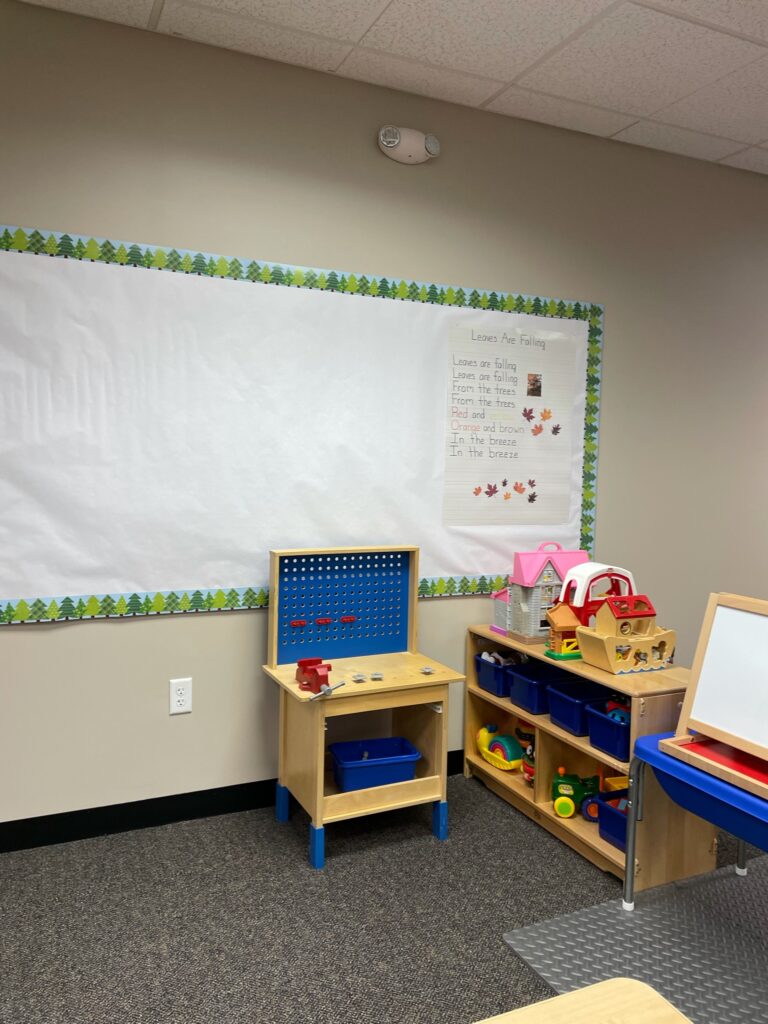
On October 25th, we officially opened the doors to our newest school, located in Beverly. This is the seventh location for Magical Beginnings since its founding in 2000.
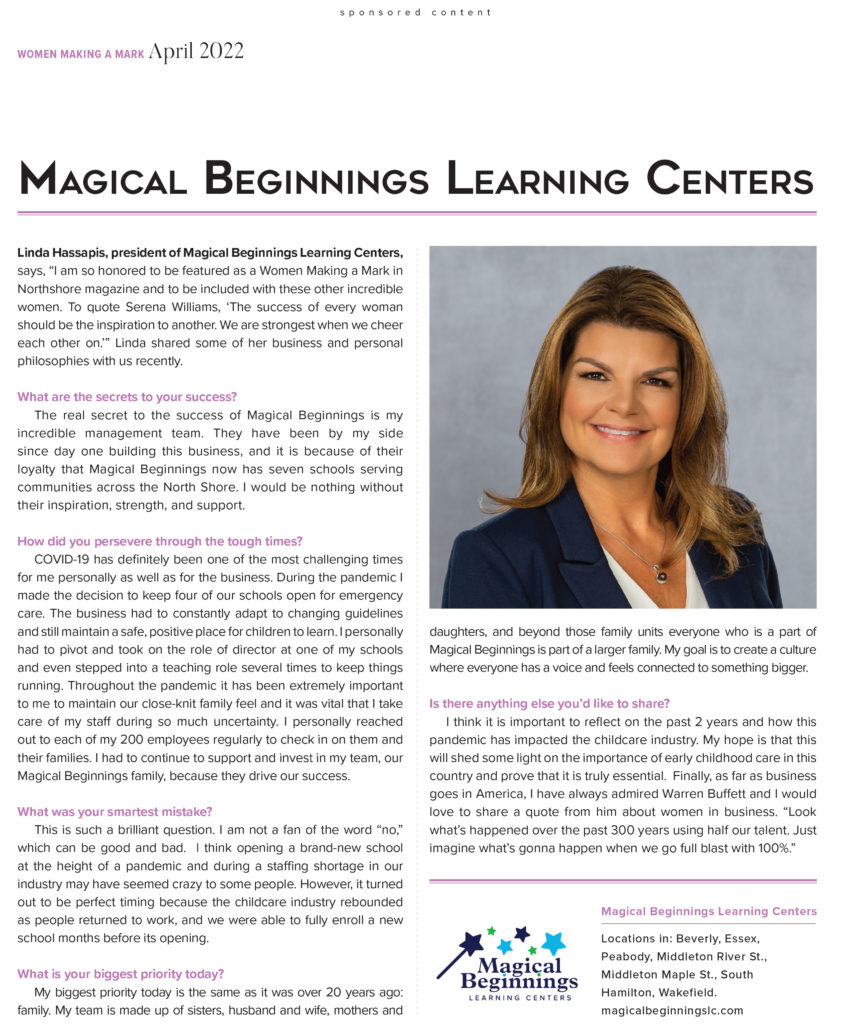
Melissa Ritchie, former Director of the Maple Street school, is our new Director at our Beverly location. Ritchie has been with Magical Beginnings since 2000.
Amy Waldron comes to Beverly as the new Office Manager. Previously Waldron was a toddler teacher in Middleton.
They are both thrilled to welcome all the new families to Beverly!
Bonbon sweet roll jelly-o cake lemon drops topping gummi bears caramels. Dessert icing pudding croissant gingerbread topping sesame snaps.
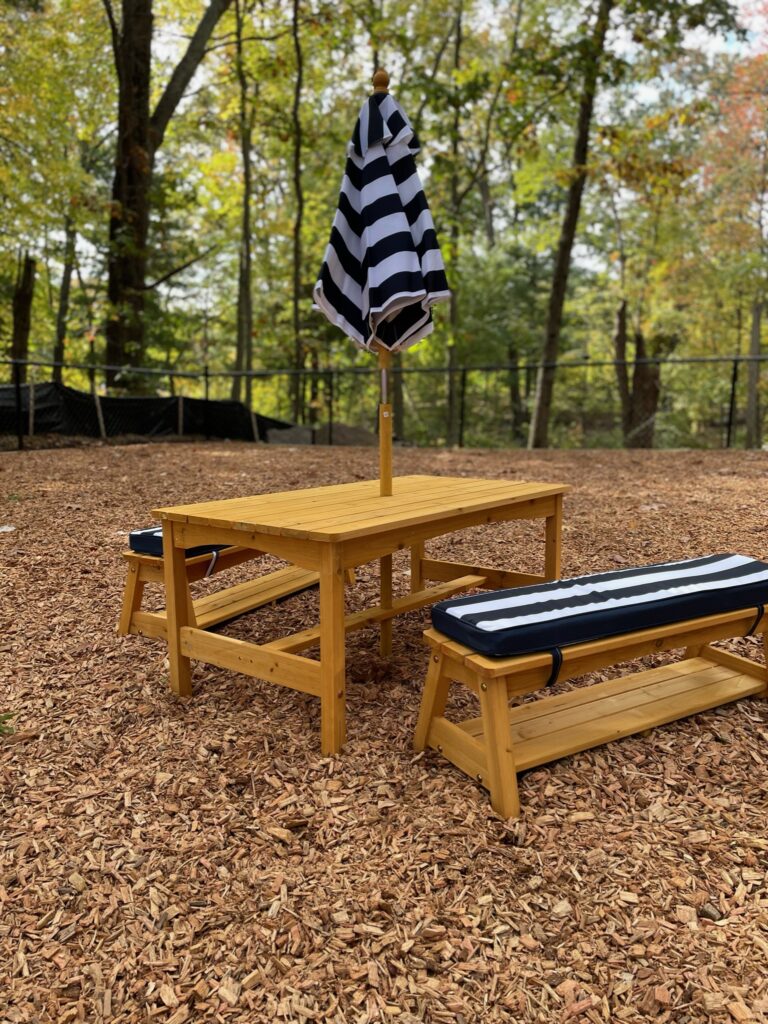
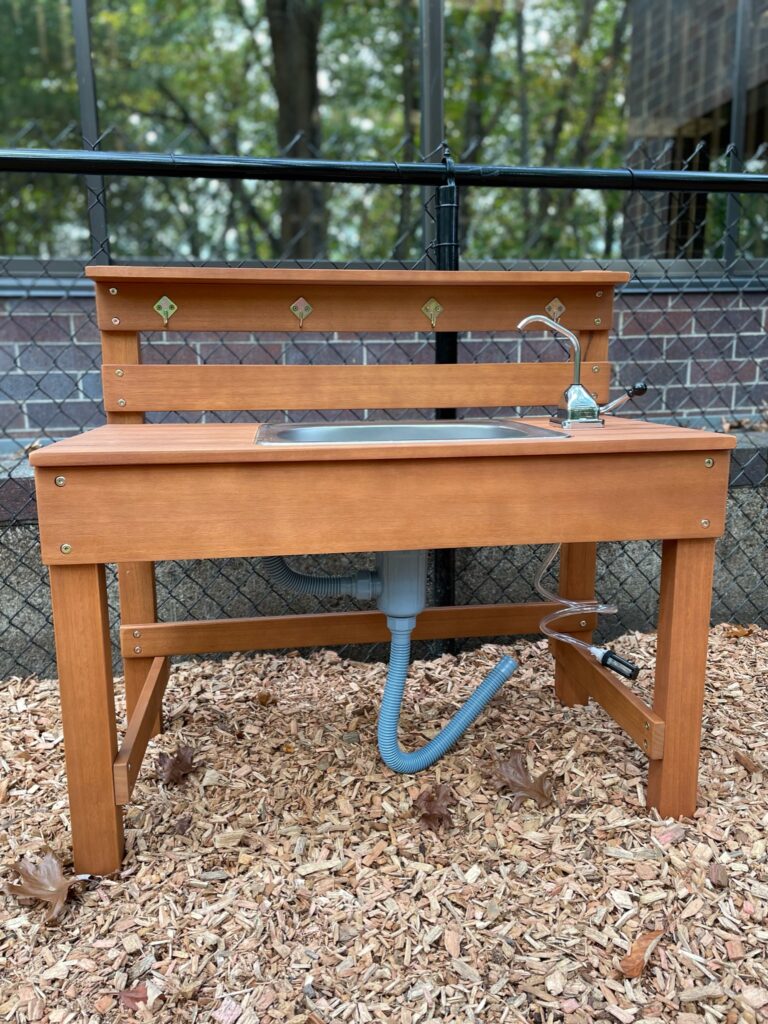
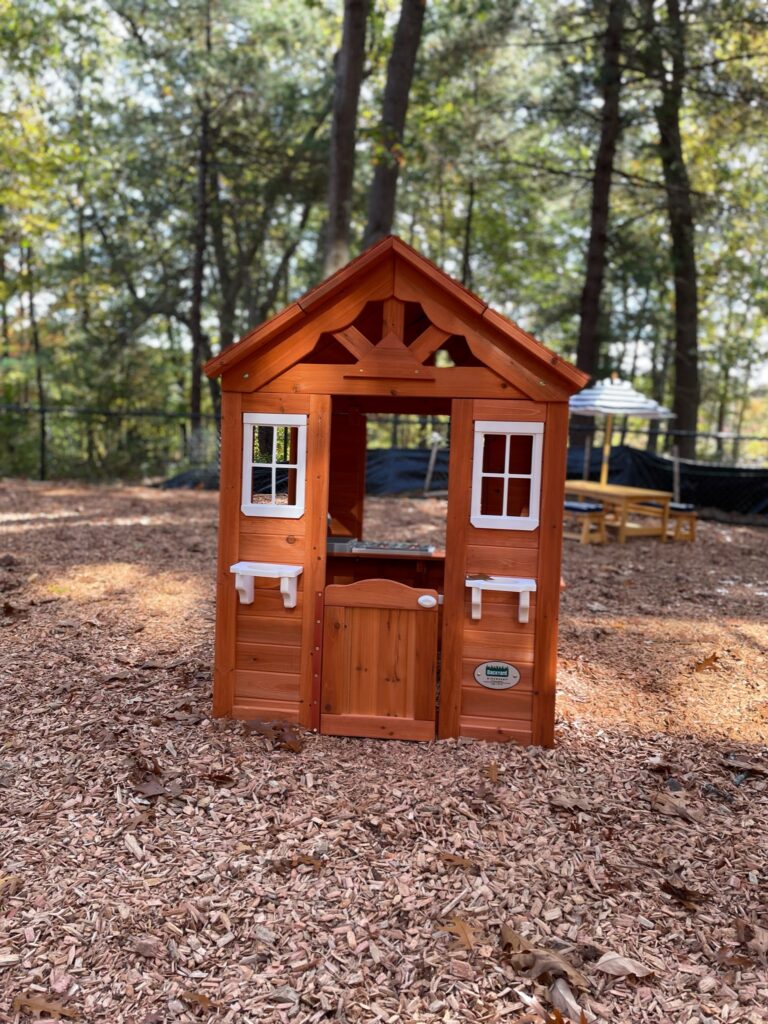
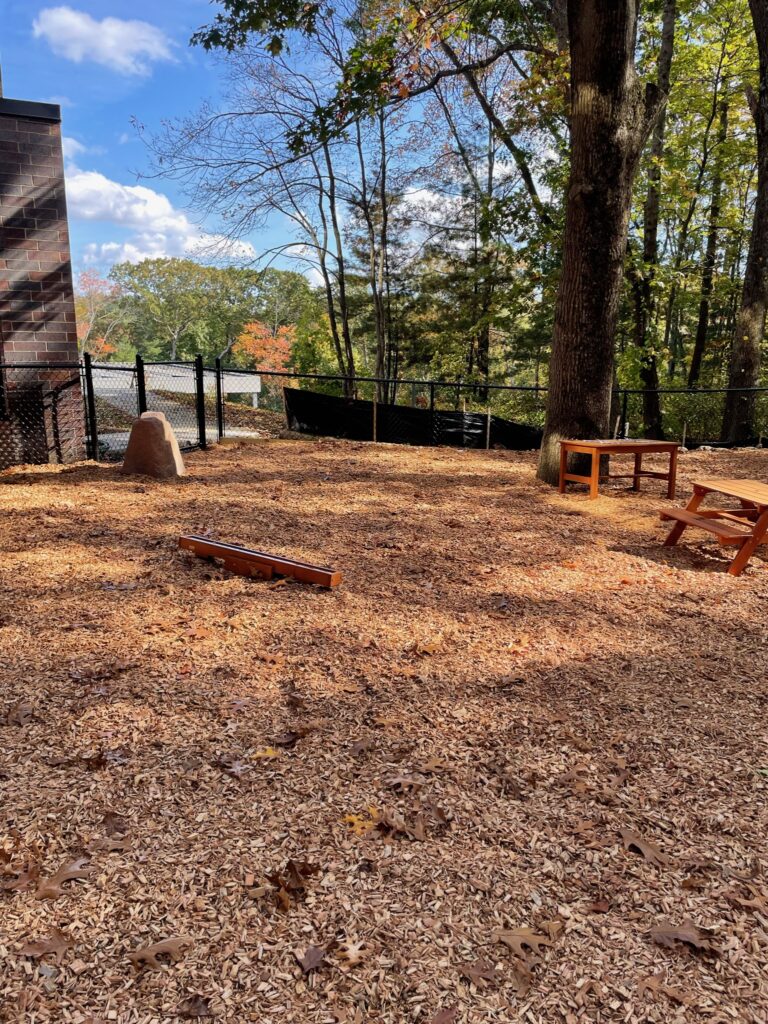
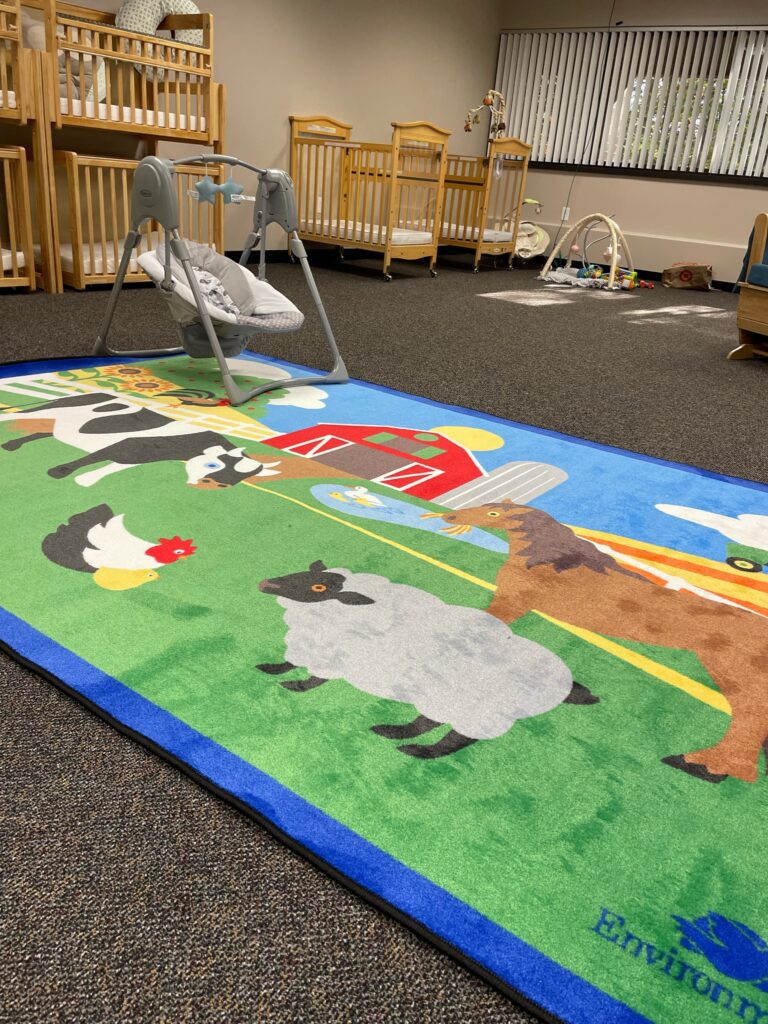
Conveniently located next to I-95, the Beverly school is approximately 6,200 square feet, with plans for six classrooms for infants through pre-k students. Located at 50 Dunham Ridge Rd, the school will care for 40 preschool students, 18 toddlers, and 14 infants at full capacity. The playground features a large tree lined outdoor space which is divided into toddler and preschool areas.


Magical Beginnings is actively recruiting teachers and staff in Beverly and several other North Shore locations. If you love children and are looking for a rewarding career—we want to meet you!
We’re so excited to be featured in North Shore Magazine this month! We love sharing our story and hope you love hearing about it.
Make sure to check out our feature and all the other great stories in the latest Northshore Magazine.
Magical Beginnings has been nominated for a Best of North Shore Award (BONS) for the very first time!
The North Shore has been our home from the earliest days of Magical Beginnings and as we have grown to six locations across the region. This is a particularly special opportunity to be recognized by our own community – our peers, our friends, our neighbors. But we need your help!

To vote, scroll down to the Kids’ Program nominees list (under the ‘Play’ category).
Email registration is required to ensure registrants may only vote for one business per category.
Voting is open through midnight May 1, 2021.
It’s also easy for parents and visitors to vote during drop off or pick up! You can find the link by scanning the QR code posted right at our schools.
Each member of our MB family goes above and beyond to ensure a positive impact for children during the most crucial years of development. We are so proud of this nomination!
Thank you for being a part of our community!
Magical Beginnings has been awarded a Best of North Shore Award (BONS) for the very first time! We were awarded the Readers’ Choice award for Play > Kids Program.
Each member of our MB family goes above and beyond to ensure a positive impact for children during the most crucial years of development. We are so proud of this award!
Thank you for being a part of our community!
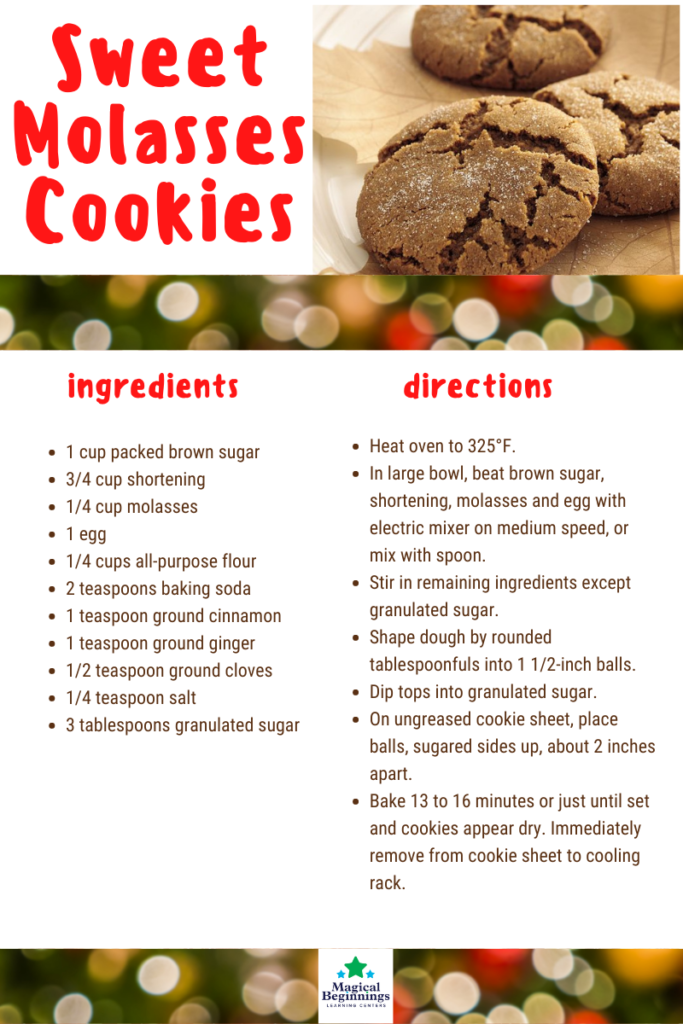
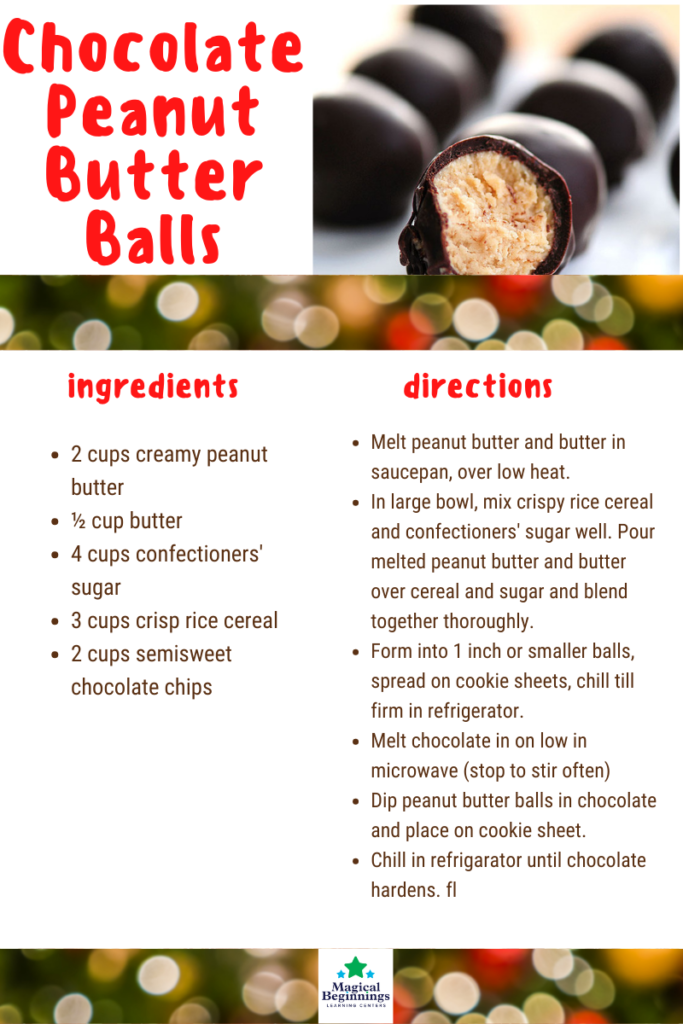
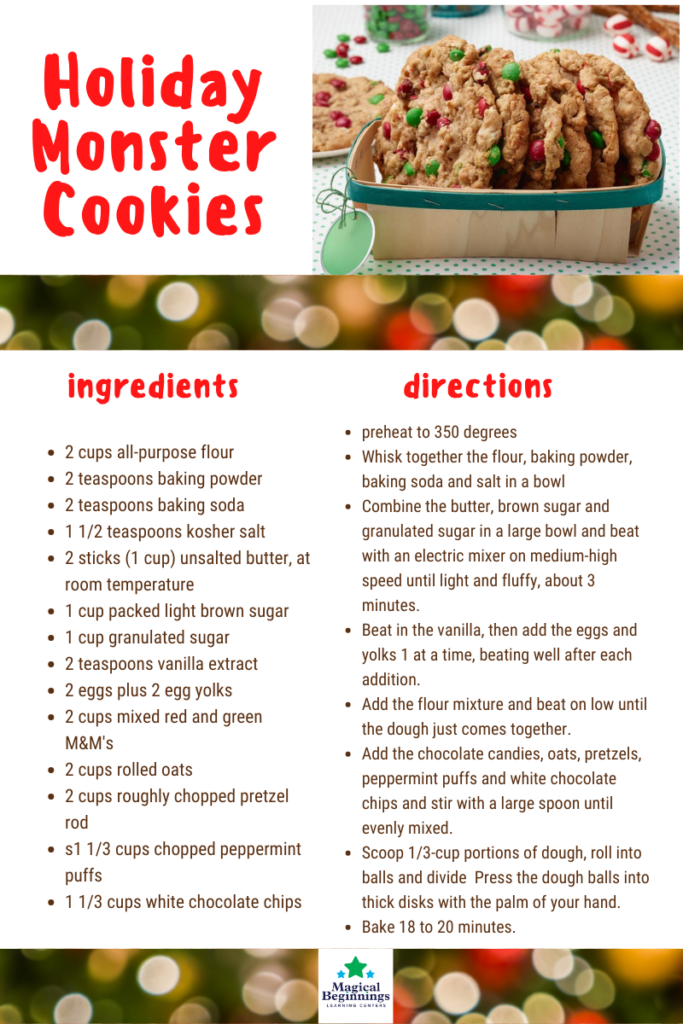
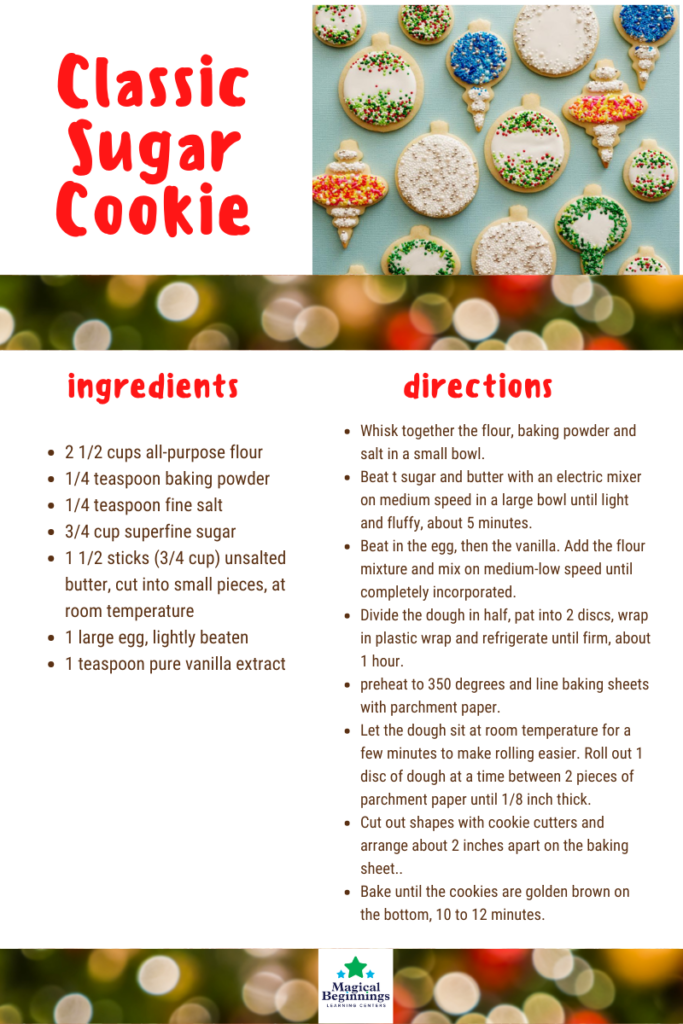
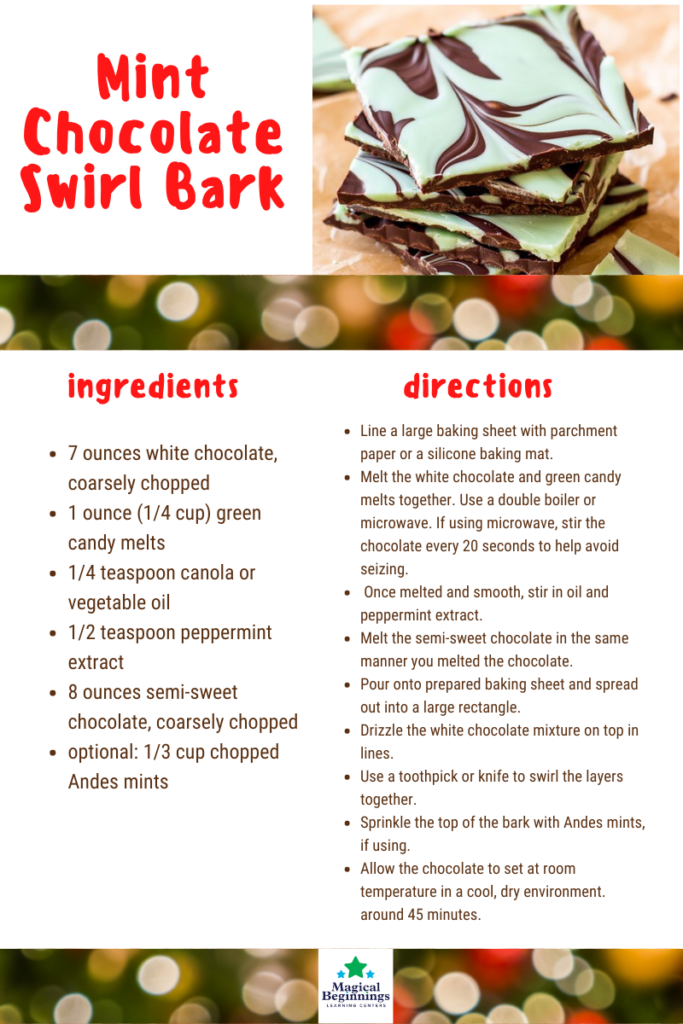
The holidays are almost here—time to bake up some sweet treats! Check out these delicious recipes our Magical Beginnings families make a tasty tradition in their home each holiday season!


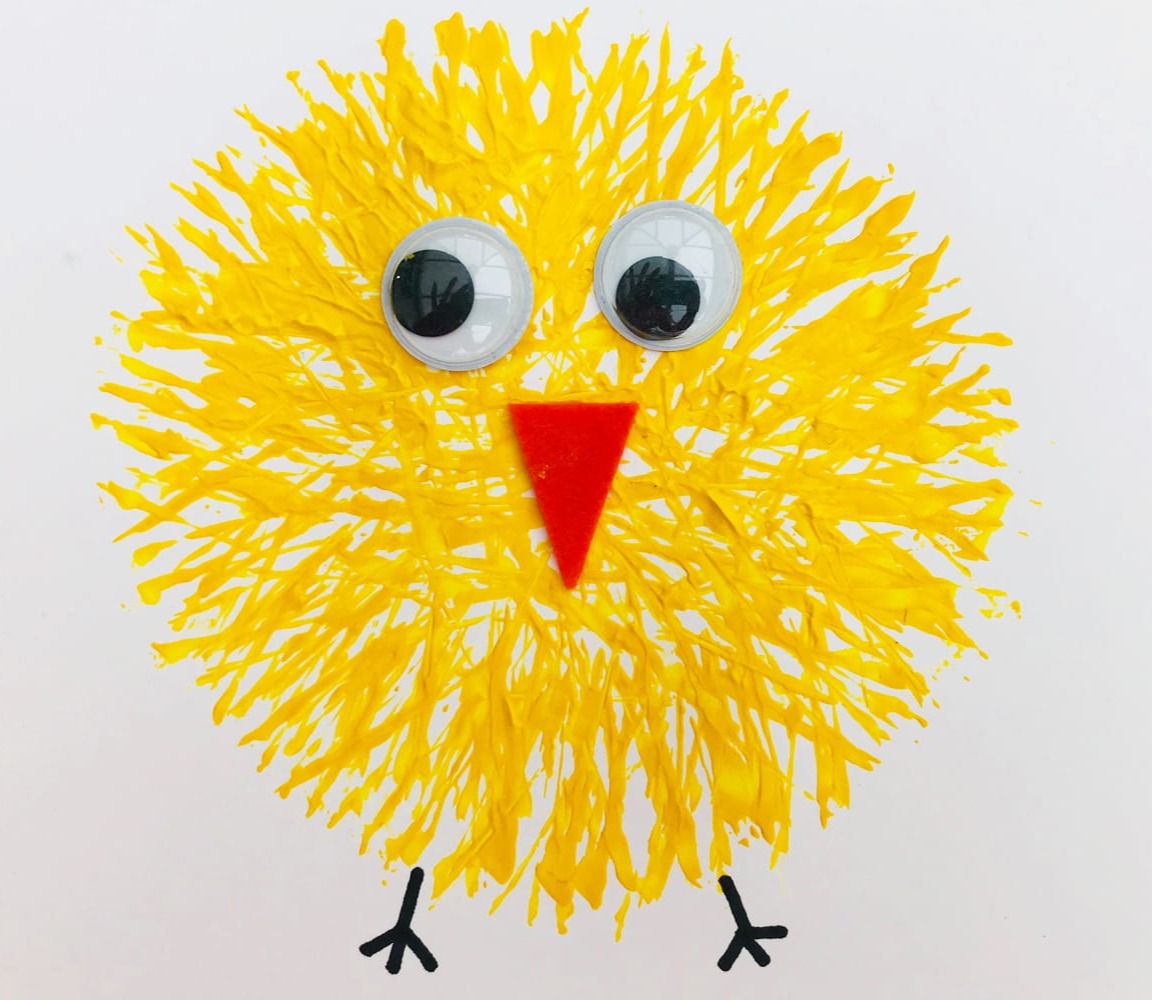
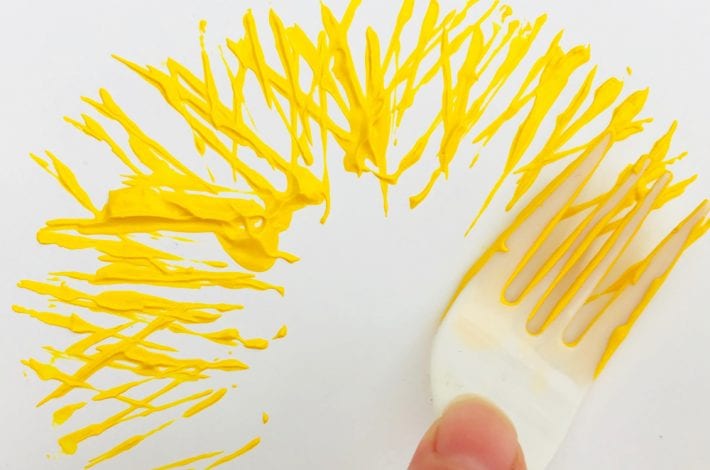
Today let’s make adorable little chicks! We’re sure everyone has done their fair share of painting with brushes and hands, but what about forks?!
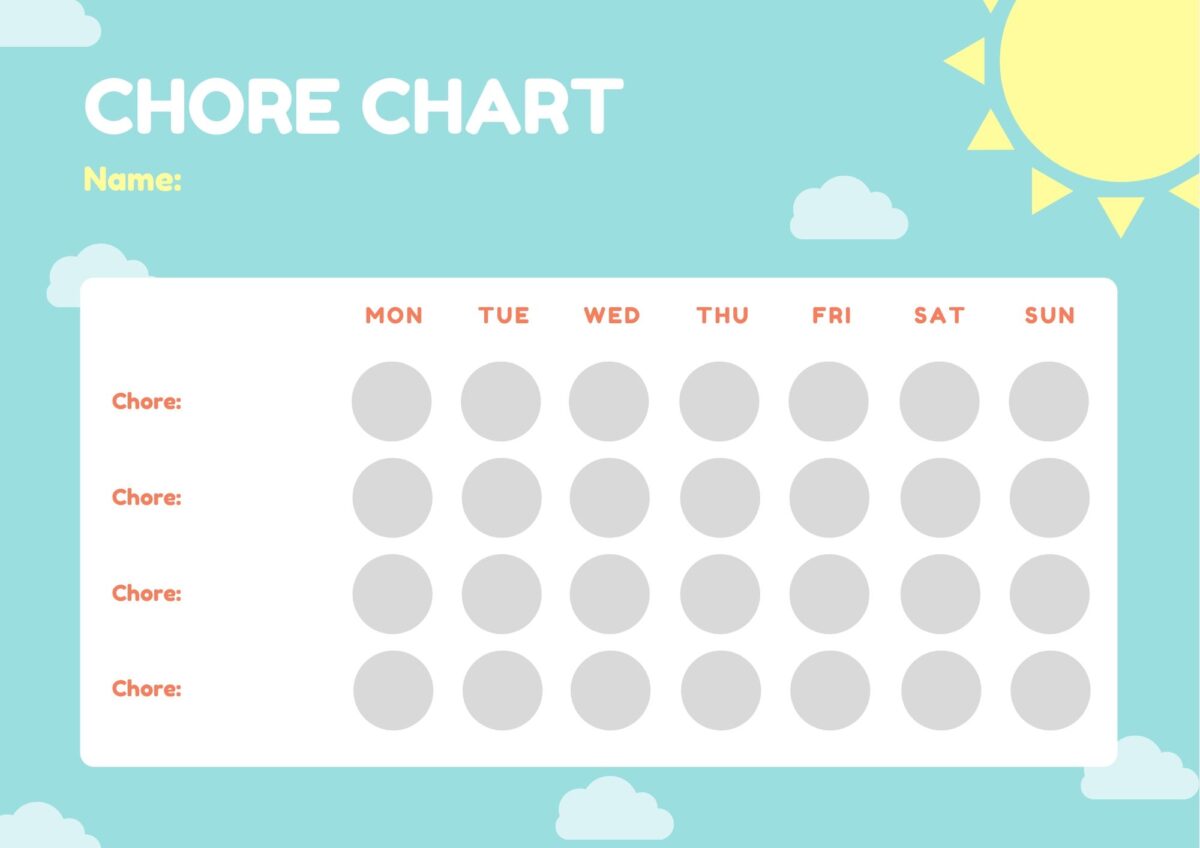
Kids loving helping out! Pick a few chores they can do each week and fill in the chart as they go. Pick a reward—go out for ice cream, a special toy, movie night, etc—and set a goal!