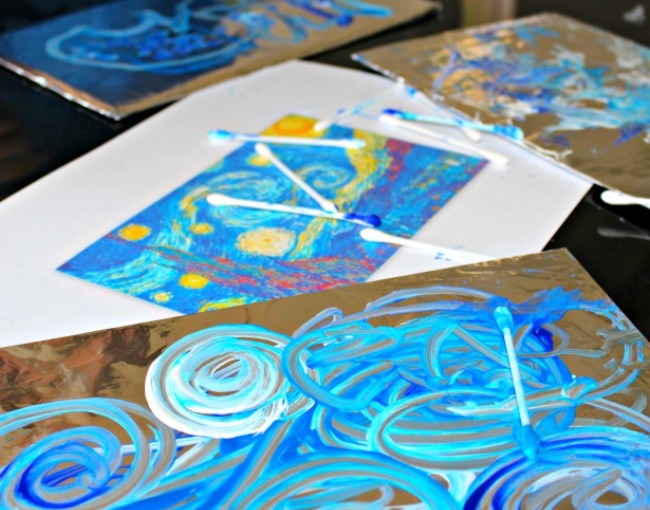
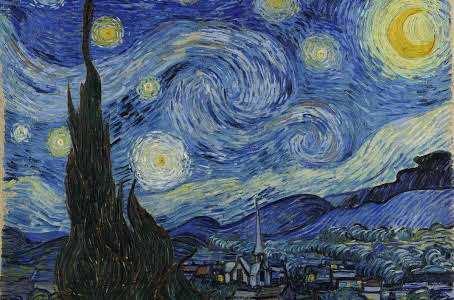
Today we are going to create our very own Starry Night. Show your child a picture of Van Gogh’s painting for inspiration! Don’t forget to send in your masterpiece to be showcased in our art show! [email protected]
Supplies:
A piece of cardboard (guessing we all have some delivery boxes laying around lately!)
Foil
Tape
Q Tips (you can also use small cars or trucks to drive through the paint)
Paint (you can stick to just a few shades of blue and a white or add in yellow and black to try and recreate Starry Night)
Plate or other surface to put your paint on
Directions:
Wrap tin foil around your cardboard and tape it down.
Put your different paint colors onto your plate
Time paint! Dip your Q Tip or truck into the paint and move it around the tin foil
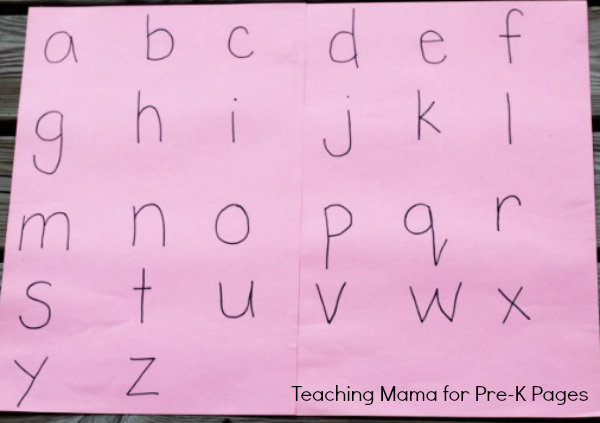
poster or large sheets of construction paper/any type of paper
marker/crayon/anything that you can write with
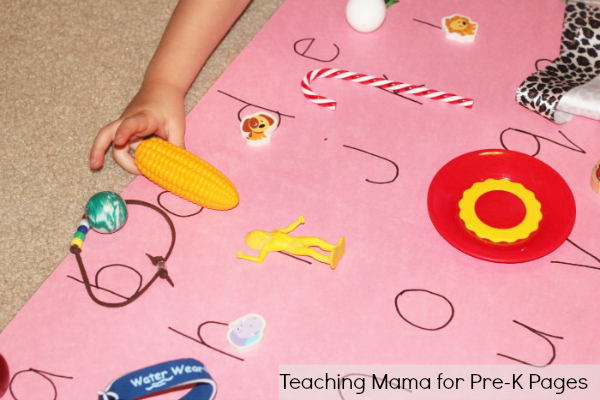
items around the room
Before the activity, write all the lower-case alphabet letters (or upper case) on the poster with your marker.
Invite the children to look for things that start with the 26 letters. Once they find an item, they can place it on top of the letter on the poster.
HIt can be challenging to listen for beginning sounds, since some have similar sounds (such as c and k).
To make it easier, you can place objects around the room ahead of time to ensure there is an item for each letter (I recommend that for the letters q and x).
1 sheet of bright paper 11″ x 14″ for the background
2 5.5″x 7″ rectangles of bright paper (different colors than your background)
4 5.5″x 7″ rectangles of bright paper (assorted brights so that the hands cut from these papers are different than the backgrounds)
Pencil
Scissors
Glue stick
Black paint
Paper plate or alternative option to hold paint
Directions:
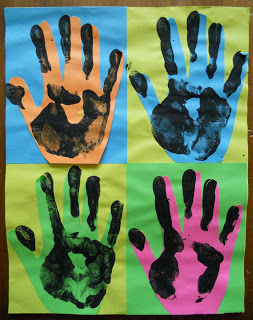
Select one 11″ x 14″ piece of bright paper for their background. In the above image, the background piece is yellow.
Then select two rectangles (5.5″ x 7″ each) these needed to be different than their background paper. Glue down to the background so that it appeared the background is divided into four sections. For a reference, in the photo, we used a blue and a green rectangle, allowing yellow background color to show in other areas.
Stack four rectangles (each 5.5″ x 7″) of assorted colors (you can staple or clip them together so they hold) and trace your hand onto the stack. Cut through all four at once with scissors to create four identical hand shapes.
Remove the staples or clip, arrange onto the background and glue down using the glue stick. Glue the fingers down well so they don’t curl off of the page.
Put some black paint onto a paper plate and lay your hand in it and then stamp onto each hand glued to your project.
Don’t forget to send in your final project to have it featured in our art show at the end of the week! [email protected]
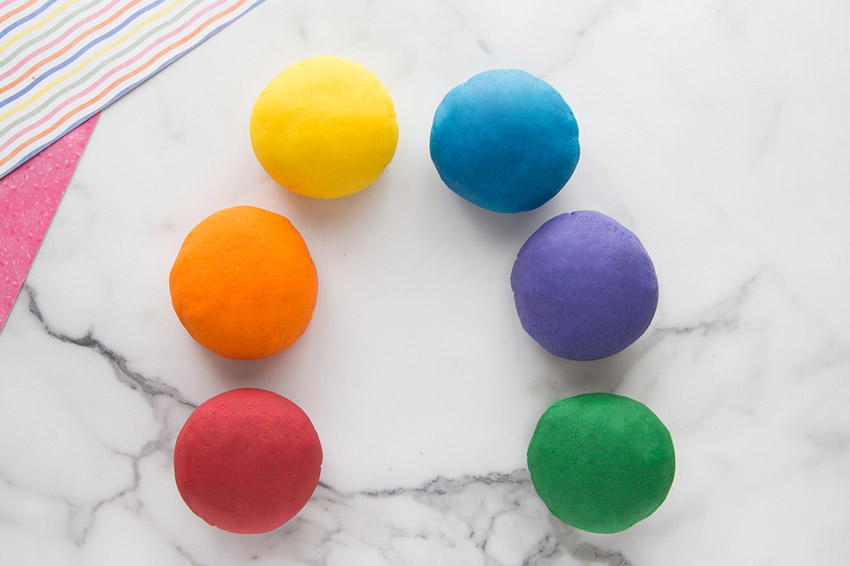
Playdough can provide endless hours of fun for tiny hands, take the activity one step further and make your own! Add smells and colors for more sensory fun!
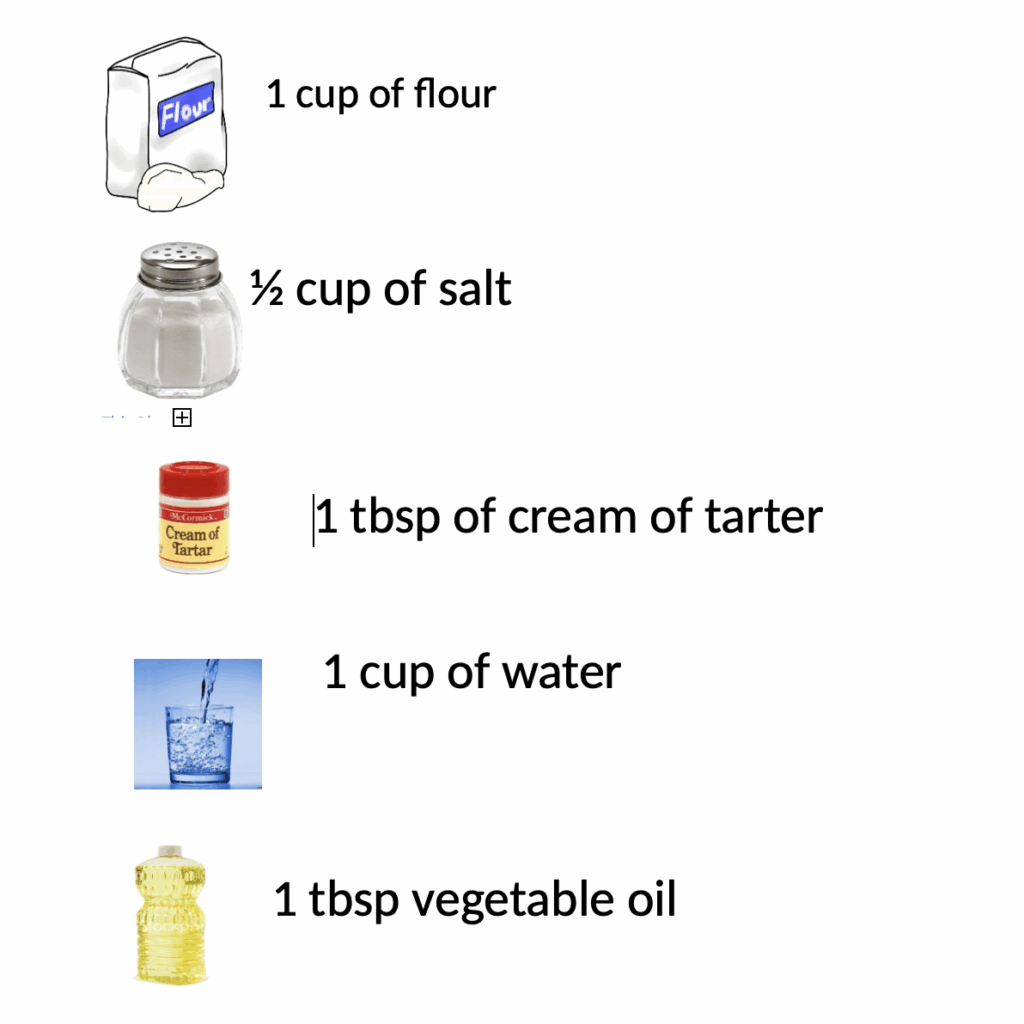
Ingredients:
How To:
Mix wet ingredients in a separate bowl. This is where you can add some extracts for a fun smell like vanilla, peppermint, banana, orange or strawberry. You can also add food coloring of your choice in this step.
Mix dry and wet ingredients together well and try to get all the lumps out.
Cook 1 minute in microwave safe bowl, stir well and do this 3X
Spread a small amount of flour on table or counter, remove playdough from the bowl and knead. (be careful it will be hot!)
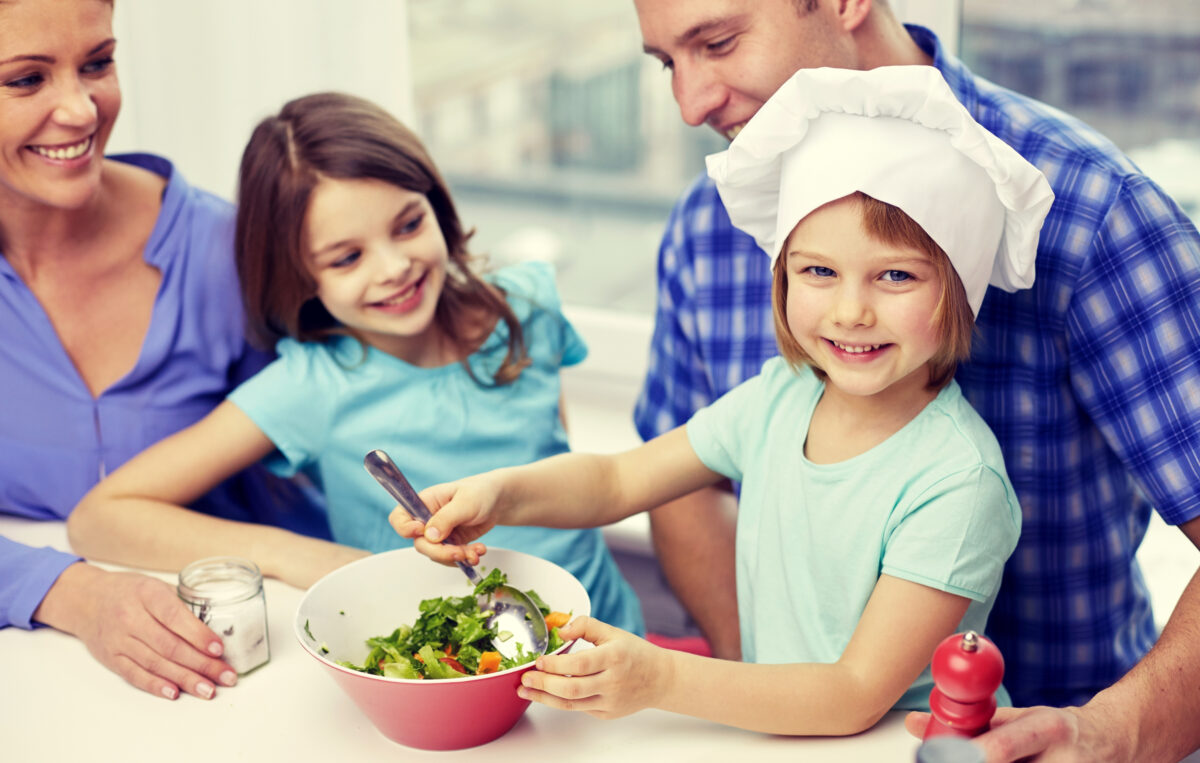
Cooking can be a fun and relaxing time for some people, including your children. And your cooking can not only be fun for all but can have many benefits as well.
Mathematics benefits: Measuring, learning about quantity and volume, exploring numbers, learning geometric concepts of shape, size, position, and direction are all integral parts of cooking.
Science Benefits: They ask scientific questions, planning and conducting investigations, gathering data, and communicating findings
Social Studies Benefits: Identifying problems, gathering information, analyzing information, and drawing conclusions
Fine Motor Development: Great at using the small muscles in the hand as well as refining hand-eye coordination; such as an eggbeater to beat eggs
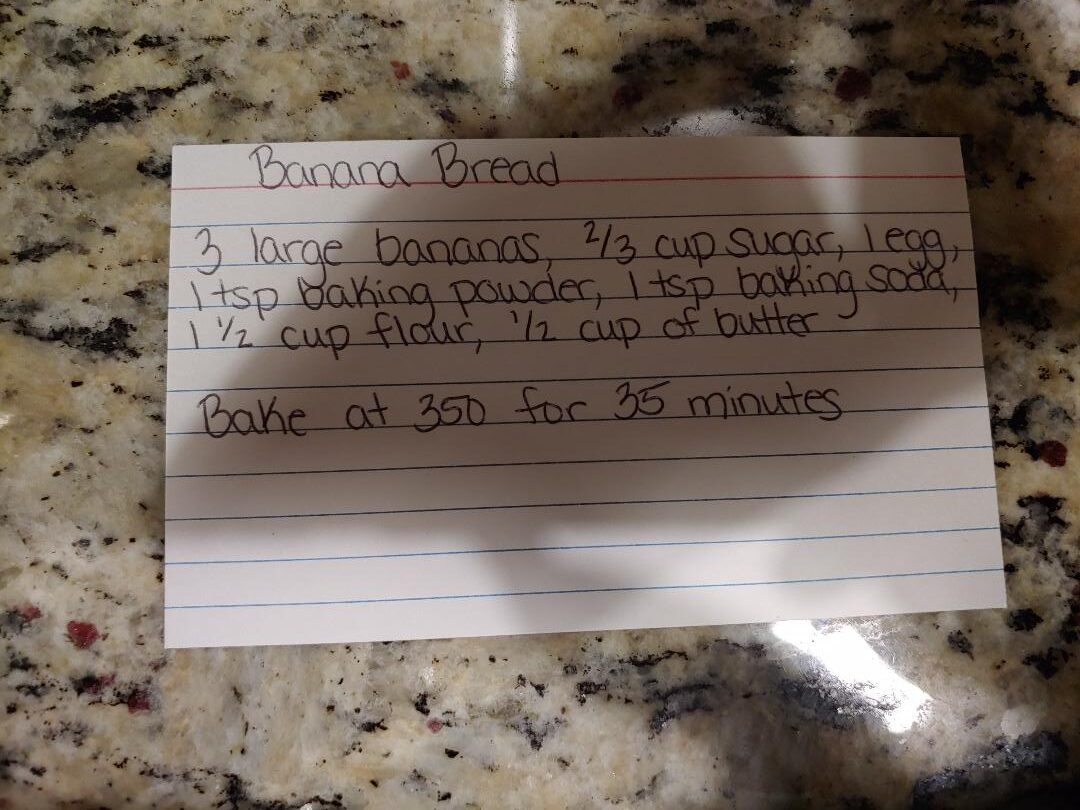
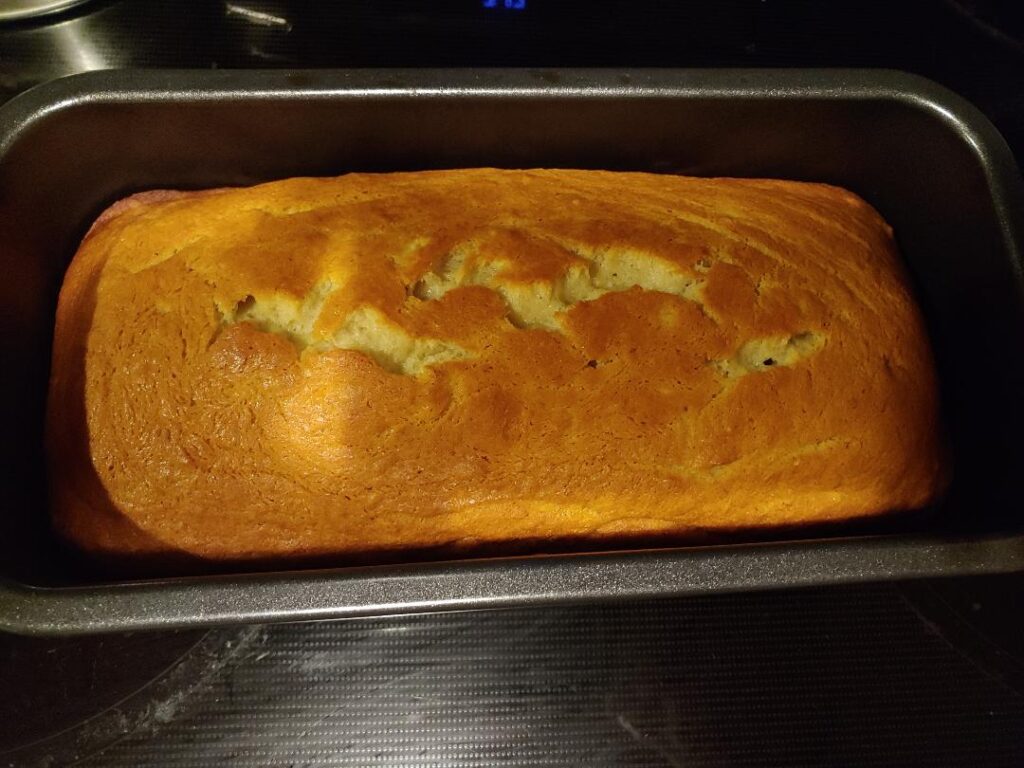
One example of a great cooking activity to do with your children is baking a banana bread, not only will it be fun the end result will be DELICIOUS! Thanks for the recipe Miss Christina!
Is your little one curious about clouds and rain? Learn more about the weather with this easy and educational science activity for kids. Using just a few common household items, you and your child can create a “rain cloud” in your own home!
Supplies:
Clear cup or glass
Shaving cream
Food coloring
Water
Instructions:
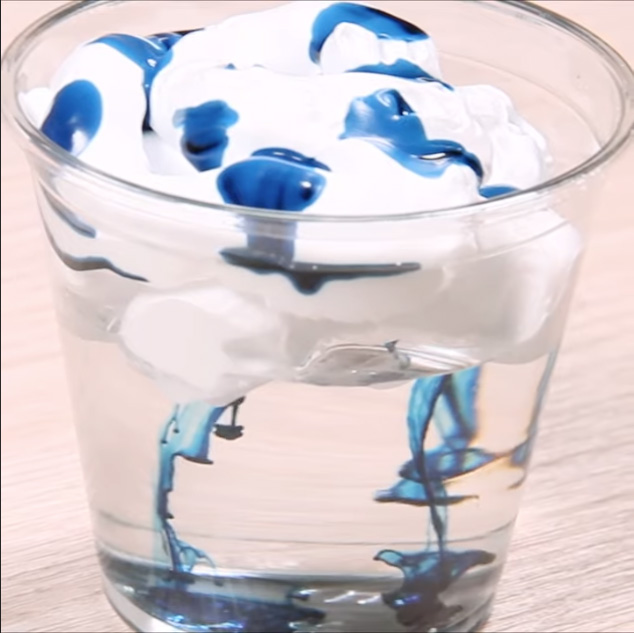
Fill a clear cup with water.
Add a layer of shaving cream.
Add several drops of food coloring.
When the cloud gets too heavy, the drops fall through as rain! Explain to your child that when water droplets grow heavy in the sky, gravity pulls them down from the clouds as rain, just like in the experiment.
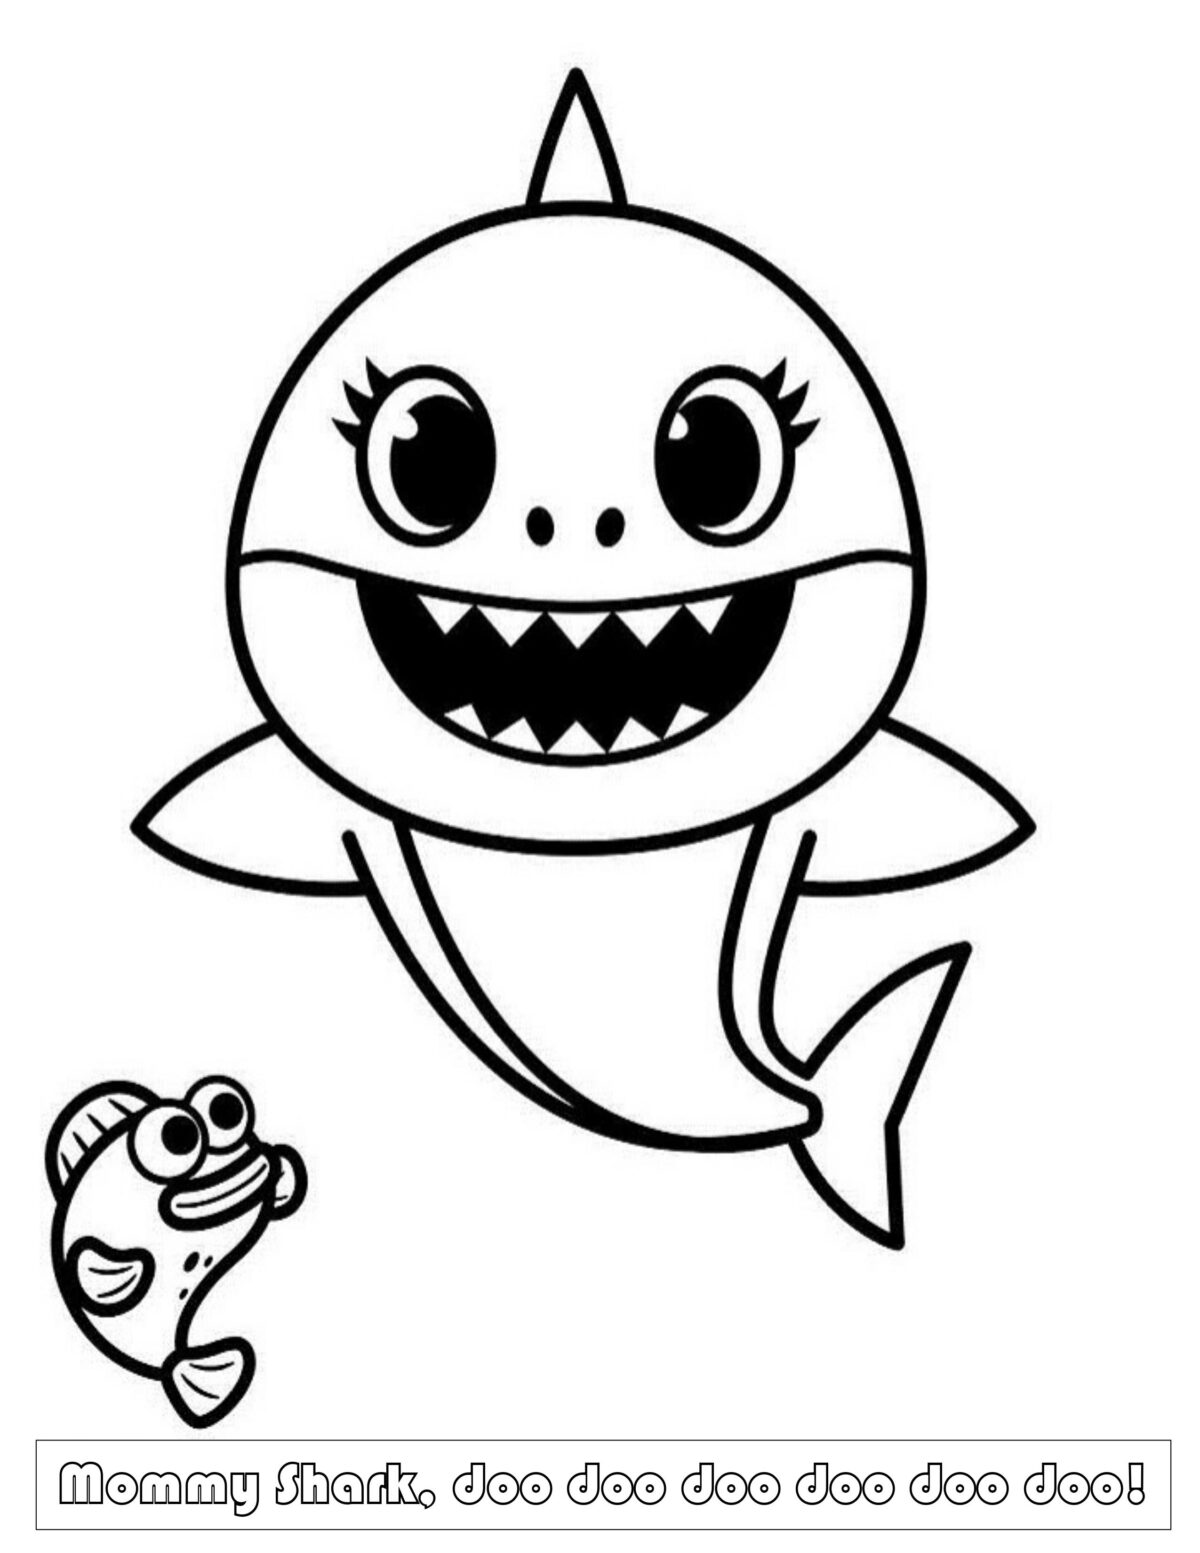
Baby shark wants you to wash your hands! Watch this cute video and then enjoy a fun craft.
Print out pictures below to color and decorate your very own baby shark family! Kids can color in their sharks, use scissors (or ask for help from parents) to cut out silly hats and accessories, and glue or tape them on. Have fun!
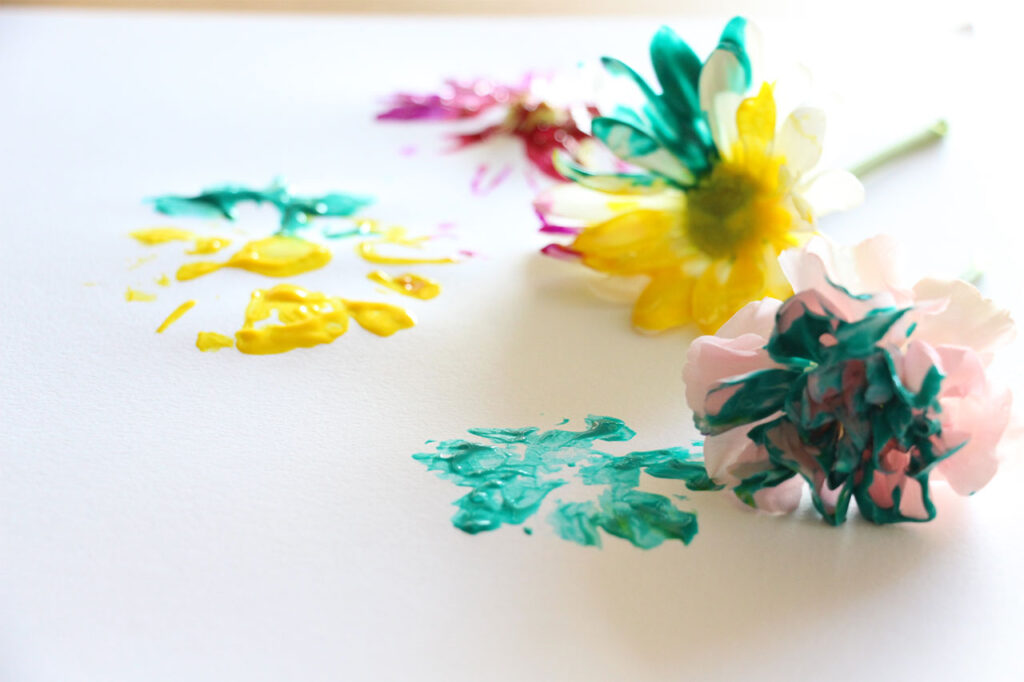
Today let’s make our own Monet! Recreate his famous Water Lilies painting with paint and flowers! First you will need to head outside to hunt for flowers—or other outdoor treasures like leaves, pinecones, sticks—and then it’s time to paint!
Supplies:
Table covering
Paper
Paint
Paper plate (or another surface to put paint on)
Flowers (or other outdoor treasures like leaves and pinecones)
Ruler
How To:
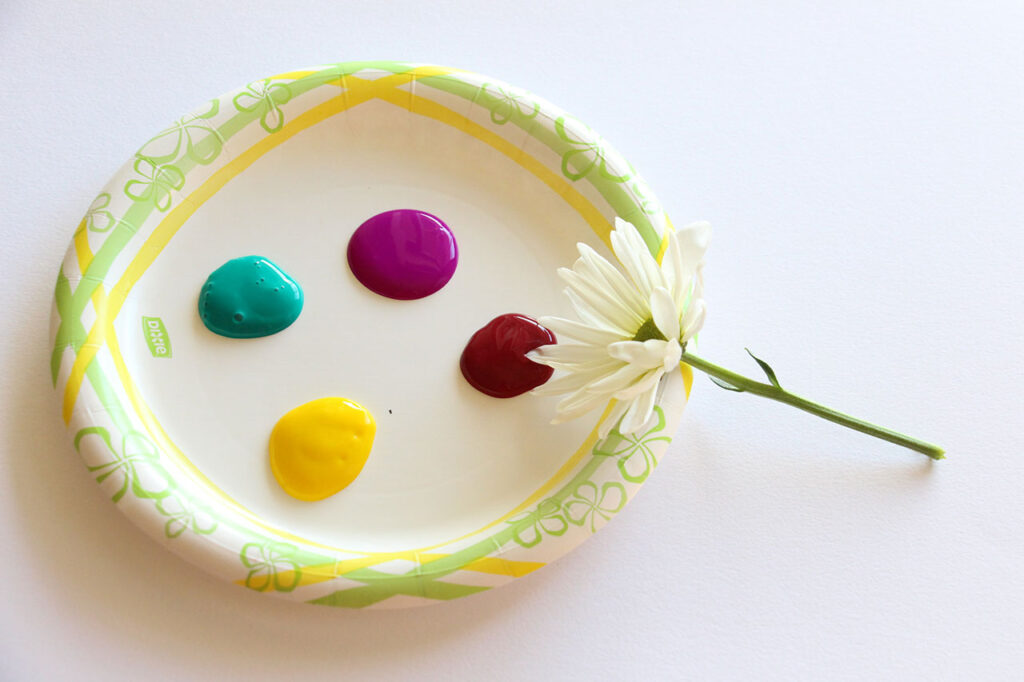
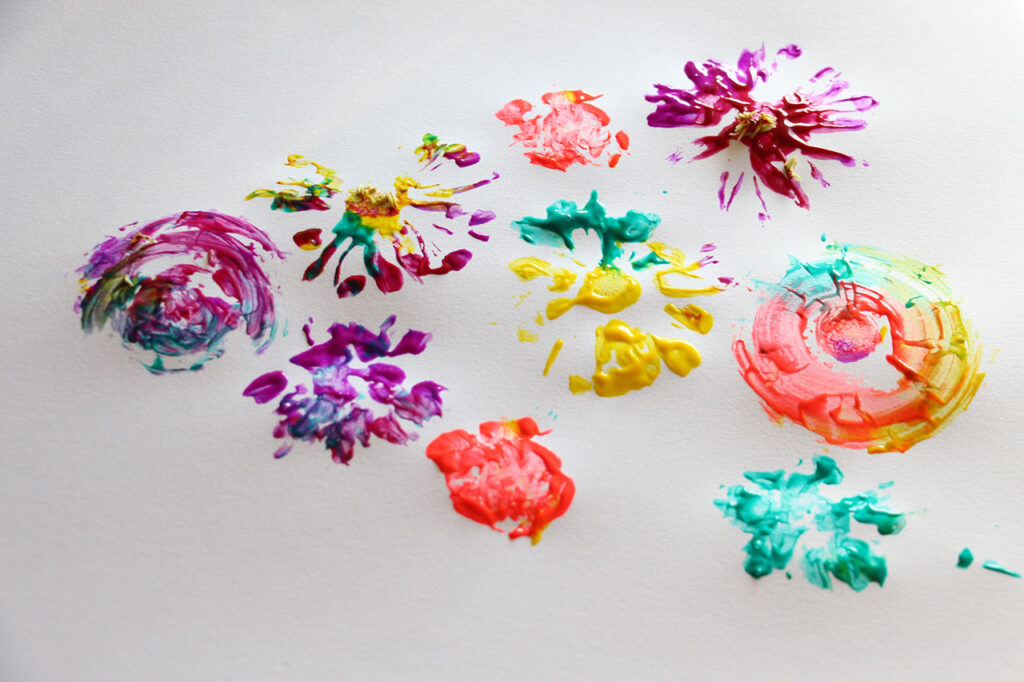
Squeeze blobs of paint onto the paper plate, leaving plenty of room to press the flowers down into the paint. Now it’s time for flower painting fun! You are essentially replacing your paint brush with a fresh flower, so dip the flower into the paint, then press onto your paper. You can experiment with mixing paint colors and using differently shaped flowers as you cover your paper with flower prints.
Don’t worry if petals or other parts of the flowers get stuck in the paint—that just adds fabulous texture! Show your child how to twirl the flower back and forth in a circular motion to create a different type of mark. Younger children may also enjoy brushing the flower across the page just like they would with a paint brush.
Once your masterpiece is complete, set aside to dry.
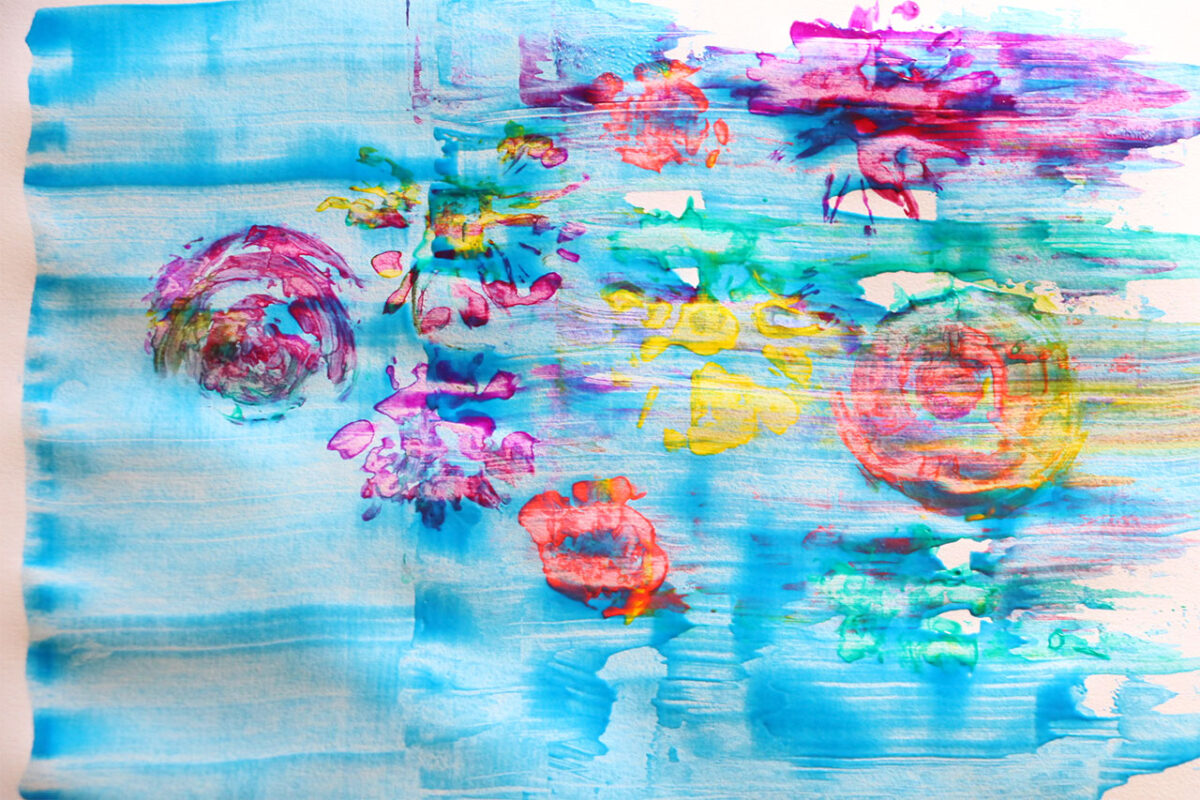
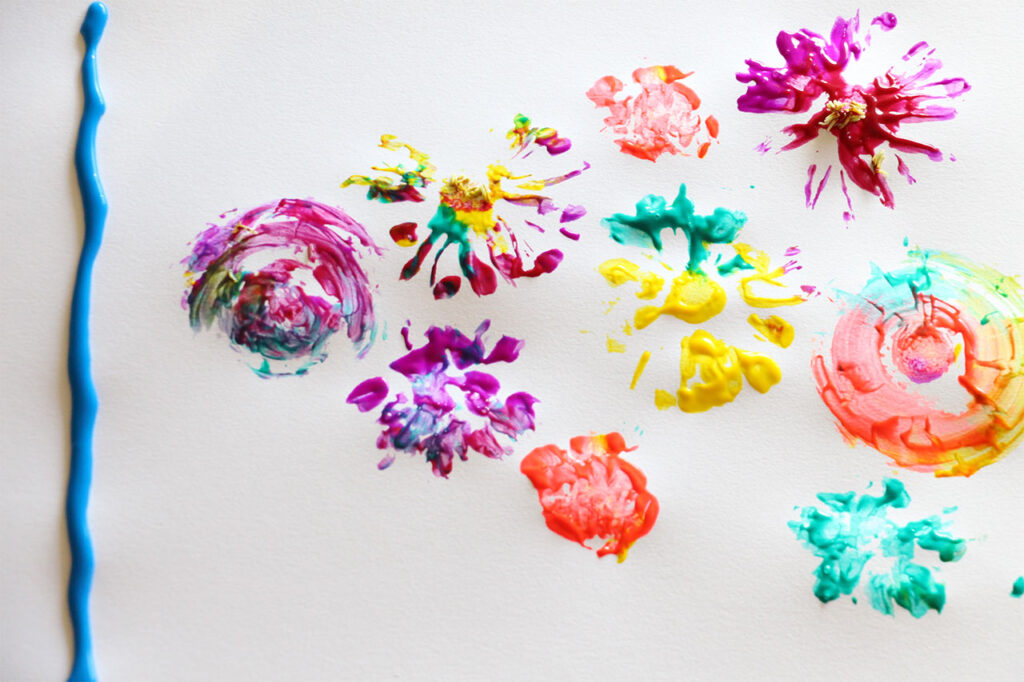
To transform your flower painting into a Monet-inspired work, you only need some blue paint and a ruler. Squeeze a line of blue paint along the far left edge of your painting. (Left-handed children might find it easier to manipulate the ruler if the paint is squeezed on the right edge of the painting).
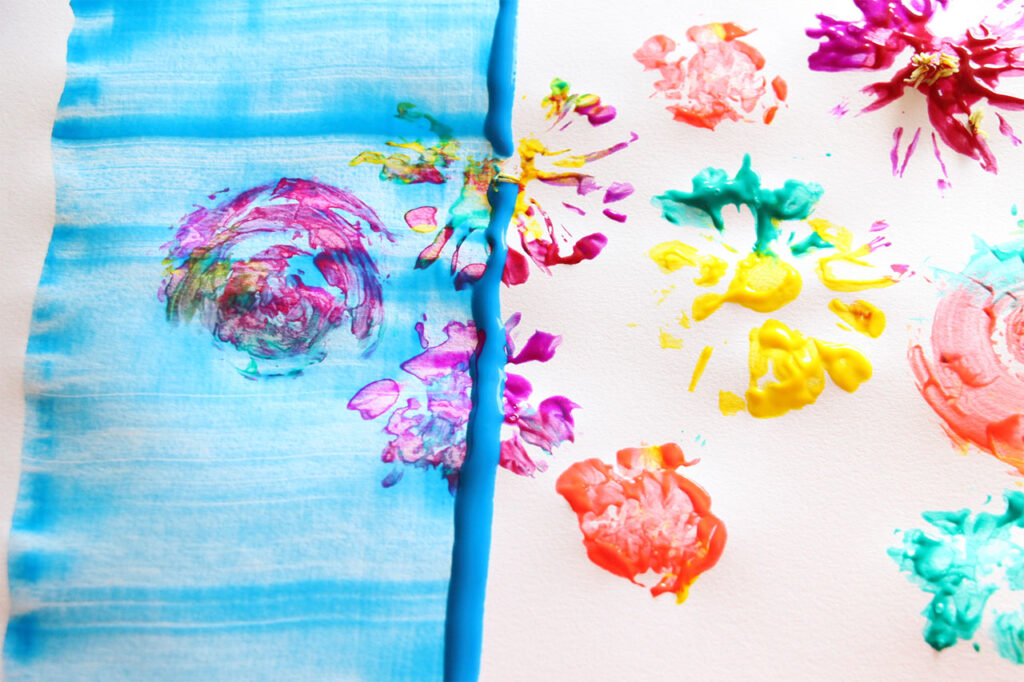
Use the ruler as a scraper, and drag the blue paint across the paper.
If needed, add additional lines of paint in the middle of your artwork so that you can completely cover the paper with blue paint.
Don’t forget to send in your masterpiece to [email protected] to be showcased in our virtual art show!